My Live Set Configuration
In the eras when I played primarily with Ableton Live, people once asked me how my Live set is built more than they asked me almost anything else, and for a long time, I gave the same half-answer — a bit about stems here, a bit about effects there — because the more thorough version takes a while, and I never sat down to write it out. So here's that thorough version. But before the channels, routing, and plugin names, I want to start with the thing all of it is in service of, because if you skip the why, the how just looks like a pile of complexity for its own sake.
Here's the why: when I'm standing behind the decks in a room full of people, I need to make sure nothing goes wrong that I can't recover from in a couple of seconds. That's it. That's the whole design brief. Everything downstream of that — every channel, every return, every dummy clip — exists to make a complicated performance feel simple under my hands, and to make sure that when I reach for something in the dark, it's exactly where I left it and it does exactly what I expect. A live rig isn't a studio. In the studio, I have all night and an undo button. On a dancefloor, I have to make a decision every fifteen seconds or so (with no undo) in a room that can feel if a performer gets confused for half a second. So the rig has to be boring in the best sense of the word. Predictable. Bulletproof. Built so the interesting stuff happens in the music, never in the equipment.
Once you understand that, the rest of this makes sense.
Why I prefer stems to tracks
When I'm playing on Ableton Live, I don't play one track after another. Inside my set, songs are broken into stems — drum lines, basslines, kick patterns, the parts that make up a track — and I mix and match them so I'm effectively remixing on the fly. I know "remix on the fly" is a cliché that every laptop DJ reaches for, so let me be precise about what that actually buys me. It means I'm never locked into the arrangement somebody else decided on (or even what I decided when I'm playing my original material). I can pull the drums of one track under the bassline of another, hold a breakdown longer than the producer intended, drop a hook in early, layer two things that were never meant to touch. The set becomes mine in real time. After playing this way, spinning one track after another on two CDJs feels like babysitting a playlist.
That freedom is the upside. The cost is complexity, and complexity is exactly the enemy I described at the top. So the entire build below is the answer to one question: how do you get the expressive range of remixing live without giving yourself so many things to manage that you fall apart in front of a crowd? The answer is a structure rigid enough to lean on and flexible enough to improvise with.
Two decks, eight channels, eight-bar loops
The set is an eight-channel configuration split into two "decks" of four channels each. Four stems per deck, so at any moment I can have up to four parts of one song and four of another going at once. That's the canvas.
The clips themselves are almost all eight-bar loops, and that number isn't arbitrary. Eight bars is the sweet spot between frantic and boring. It's not so short that I'm constantly scrambling for the next clip, and not so long that the set goes flat and predictable. At the tempos I tend to play, it works out to a change-up roughly every fifteen seconds — lively, but not panic-inducing. That phrase, "not panic-inducing," is doing real work. I chose that loop length to dial in how often I'm forced to make a decision. Set it too tight, and the rig becomes a treadmill; too loose, and I lose the energy. Eight-bar phrases keep me ahead of the music instead of chasing it.
The clips in a song are grouped in playing order — intro, buildup, drop, breakdown, second drop, outro, and so on — and wired together with follow actions so each loop advances to the next on its own. If I just hit play on the first clip in a block, the song walks itself through in the normal arrangement without me touching it again. There's one deliberate exception: the second-to-last clip is set to loop indefinitely instead of advancing to the outro. That's my safety valve. It means a song will sit and wait for me right before it ends, looping patiently and giving me all the time I need to set up the next mix. When I'm actually ready to let it finish, I trigger the outro clip by hand. So the automation carries the song for me, but it always pauses and asks permission before doing the one irreversible thing — ending. That single design choice is the difference between a set that runs you and a set you run.
The routing, and why audio takes the long way home
Here's where it gets layered, and where the "more than eight channels" surprise comes in. I'll walk it in the order the sound actually travels, because the routing only makes sense as a signal path.
The eight channels I play live are the Stem Channels — left deck stems A through D on channels one to four, right deck stems A through D on channels five to eight. Those are the only clips I'm physically launching, and I keep them wide enough on screen to read the label on every clip. Legibility under pressure is part of reliability; if I can't read it at a glance, it doesn't exist when the lights are low and the room is loud.
But the stem audio doesn't run straight to the master. It first passes into a second bank of eight channels, the Effects Channels, one shadowing each stem. The reason is the trick that makes a two-handed performance sound like it has six. On the effects channels, I use dummy clips — clips that hold no audio, just effect states — to switch sequenced combinations of effects on and off. When I fire a dummy clip, the stem audio passing through that channel suddenly runs through whatever effect rig that clip arms. So one button can throw a whole choreographed effects move onto a single stem. I keep these channels at minimum width because there's nothing on the clips I need to read; I know what each one is and where it lives purely from how it's mapped to the controller. My hands know the layout, so my eyes don't have to.
The audio still isn't done. From the effects channels, it flows into a set of returns — one per deck — and there are two reasons for that stop. First, I sub-mix the corresponding stems back together there and apply a touch of compression to glue the deck's sound into a single coherent thing, the way it was before I tore it into parts. Second, some of my effects are meant to act on a whole deck at once rather than a single stem, and the return is the natural place to hang them, because it's where the four stems of a deck are reunited.
Only then does it hit the master, where a touch of gentle compression marries the left and right decks, and a limiter on the master bus keeps the whole thing from ever getting too hot before it goes out to the PA.
A transparent footnote, because the people who've seen older write-ups elsewhere will notice: this routing differs slightly from how I described it years ago. I used to run each pair of stems into four returns rather than each deck into two. Both layouts work fine. I moved to deck-level summing to reduce duplication of CPU-hungry effects like reverb, and CPU headroom is just another kind of reliability to engineer for. A rig that's running cool isn't a rig that's about to glitch in front of a few hundred people. The general lesson there is worth more than the specific choice: when two valid architectures do the same job, pick the one that asks less of the machine. The crowd never hears your elegance. They definitely hear your audio dropouts.
Effects in three places, each with a job
That routing leaves me with effects chains living in three distinct tiers: stem, deck, and master. Half of what keeps the rig sane is keeping them sorted by scope.
On each Effects Channel I keep four effect sets, each toggled by a dead-simple on/off, built into a dummy clip, tuned to throw a genuinely nasty fill — the kind of thing you slam for one bar right before a drop, or hold and loop if you want to ride it. Each has some kind of sweeping motion built into the dummy clip so it moves on its own and stays interesting, and I can dial the depth of everything on the channel with a single knob. The end result is that one button and one knob produce sweeps that sound like they took five or six pairs of hands. I won't pretend the names are dignified — internally these are the "sound mangler" (bitcrusher and grain delay), the "outer space" button (chorus and flanger), the "trippin' hard" button (filter delay), and the "glitched-out" button (beat repeat). The point of having them per-stem instead of across the whole deck is surgical control: I can beat-repeat the fill drums of a track while leaving the kick drum and vocals clean, so the groove stays danceable even as the drum pattern comes apart in your face. Controlled chaos. Heavy on the controlled.
On each Deck Return I keep the effects I want to throw at a whole song at once — a frequency shifter for subtle pitch moves or wild diving sweeps; a trance gate built from an Autopan that chops a track into rhythmic pieces so it locks against whatever's playing on the other deck; a DJM-style bipolar envelope filter that puts a low-pass and a high-pass on one knob, with a toggle between high-resonance sweeps for builds and low-resonance sweeps for slipping quietly out of a track; a reverb for huge dynamic fills; a multiband dynamics unit just sitting there, doing its job to keep the signal balanced; and Fade to Gray, which is a ping-pong delay married to an EQ sweep that makes a track feel like it dissolves, and which I lean on for some elegant transitions.
On the Master there's just finishing work — the crossfader (not an effect, but it lives here in the signal flow, and it lets me cut or blend the two decks like a turntablist who came up on a mixer, which I did), another multiband dynamics unit kept deliberately light so I don't crush my dynamic range, and a final brick-wall limiter that, ideally, never has to do a thing. If the limiter is working hard, I made a mistake upstream. It's there as insurance against the one night something gets away from me, not as a tool I play through.
The controller, and the case for "just enough"
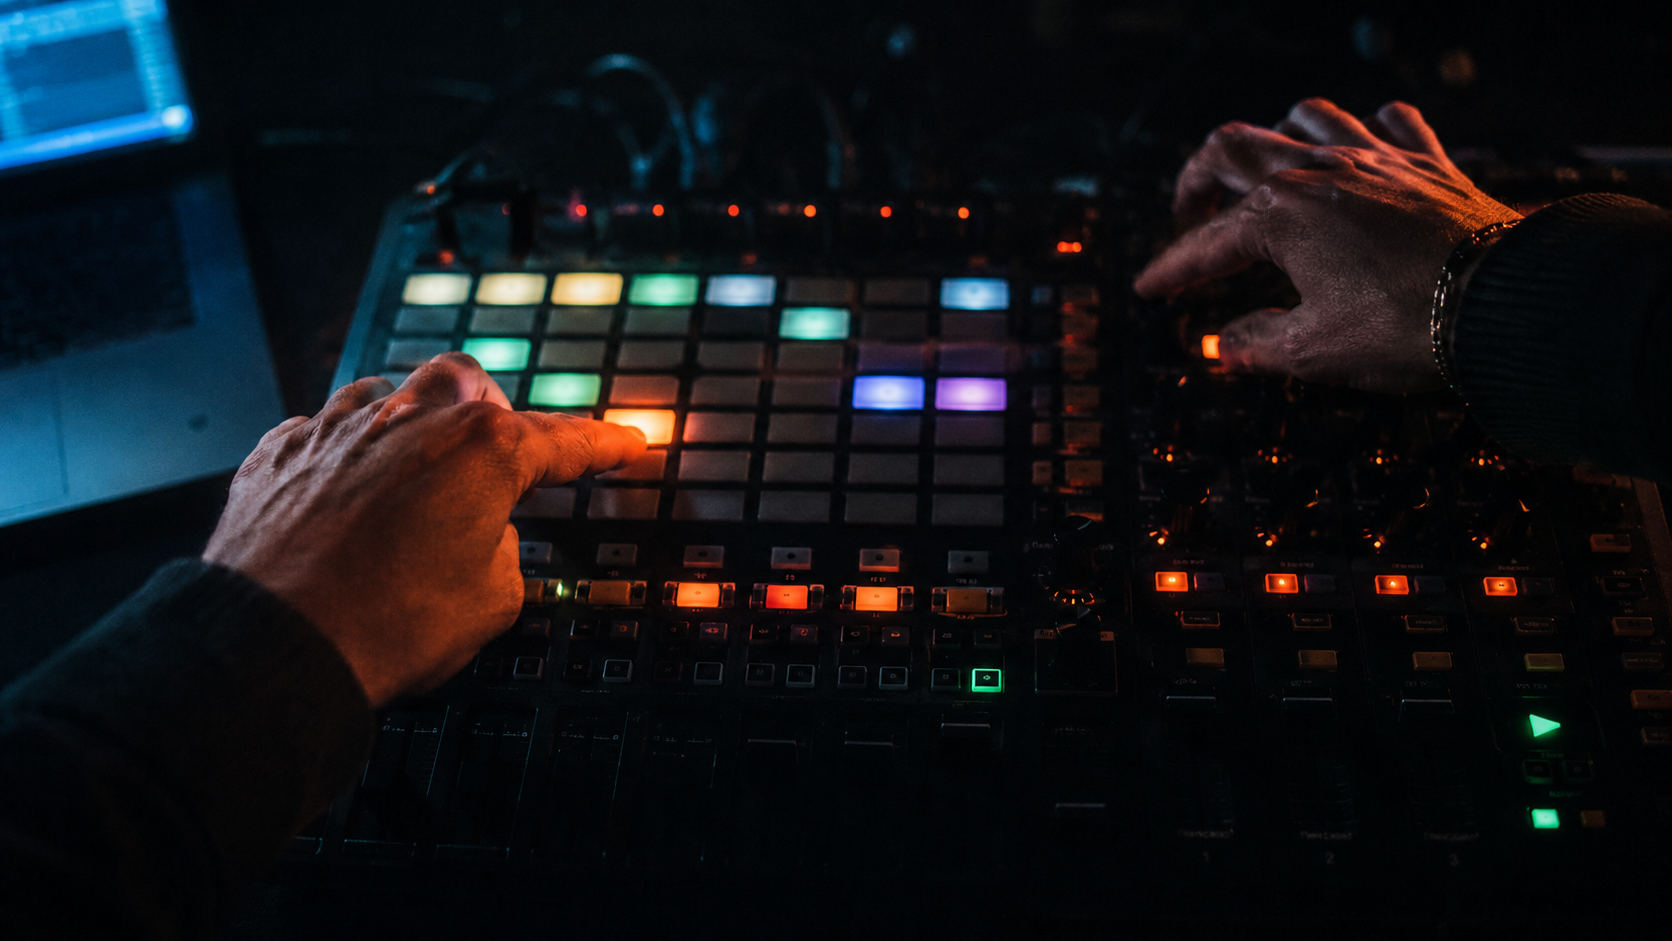
All of this runs off an Akai APC40 MK2, and I want to be careful here, even though I've had it for over a dozen years, this is the part that dates fastest and matters least. The specific controller is almost beside the point. What matters is the principle behind choosing it: I want exactly enough physical control to play everything above with two hands and ten fingers, and not one knob more. The APC40 happened to be the piece of hardware that hit that mark for me — not too much, not too little, with a clip grid that maps cleanly onto the eight-by-something structure I've built. If it stopped being made tomorrow, I'd go looking for whatever else satisfies the same brief, and the set underneath wouldn't change at all.
That's the real takeaway, and it's why I led with reliability instead of gear. The hardware I run today is just the current answer to a question that doesn't expire: how few controls can I get away with while still being able to express everything I want? More surface area looks impressive in a photo and gets you lost in the dark. The right rig is the one small enough to live entirely in your hands, so that when you're three hours deep, the room is peaking, and you reach for something without looking, it's there where you expect it and behaves predictably, every single time.
That's the whole secret, really. Not the plugin list. The plugin list will be obsolete in five years, and somebody will email me to tell me so. The architecture — stems for freedom, structure for safety, automation that pauses before the irreversible move, effects sorted by scope, and the smallest controller that can still do the job — that part I'd build the same way on any machine, in any year, in any room. The gear is how I solved it this time. The thinking is what I'd hand to anyone trying to solve it themselves.